
Dockerizing Next.js application with nginx

When building web applications, deploying them efficiently and reliably is crucial. Dockerization offers a powerful solution for this purpose, enabling developers to package their entire application environment into a single container, ensuring consistent and reproducible deployments across different environments. In the context of Next.js, a popular React-based framework for building server-side rendered and statically generated websites, integrating Dockerization can significantly streamline development, testing, and production workflows. By leveraging Docker and Nginx, two industry-standard tools, developers can create a lightweight, scalable, and secure environment for their Next.js application to run in, facilitating easy deployment, updates, and management. This approach enables faster time-to-market, reduced infrastructure costs, and improved overall development efficiency.

Why nginx?
While it's true that you can start a Next.js development server using npm start, there are several reasons why using Nginx as a reverse proxy in a Dockerized environment is beneficial:
- Production-ready performance: The
npm startcommand uses a development server, which is optimized for development and debugging. In contrast, Nginx is designed to handle high traffic and serve static content with optimal caching mechanisms. - Reverse proxying: Nginx can reverse proxy requests from the outside world to your Next.js application, providing an additional layer of security by serving the request and then forwarding it to your application. This also allows for easy configuration of SSL termination, caching, and other optimizations.
- Static file serving: Nginx is highly optimized for serving static files, such as images, stylesheets, and scripts. In a Next.js application, many of these files are generated by the build process and need to be served efficiently. Nginx's caching mechanisms can help reduce the number of requests made to your application.
- SSL termination: By using Nginx as a reverse proxy, you can easily configure SSL termination for your Next.js application. This means that incoming HTTPS requests are decrypted and forwarded to your application, eliminating the need for your application to handle these requests.
- Load balancing and scalability: In a production environment, it's often necessary to distribute traffic across multiple instances of your application. Nginx can be configured as a load balancer, allowing you to easily scale your Next.js application horizontally.
- Better handling of edge cases: A reverse proxy like Nginx can help handle edge cases such as requests with invalid headers, malformed images, or other unusual requests that might break your Next.js application.
While npm start is sufficient for development and testing, using Nginx as a reverse proxy in a Dockerized environment provides a more robust and production-ready solution for serving your Next.js static page application.
Requirements:
Building Next.js application
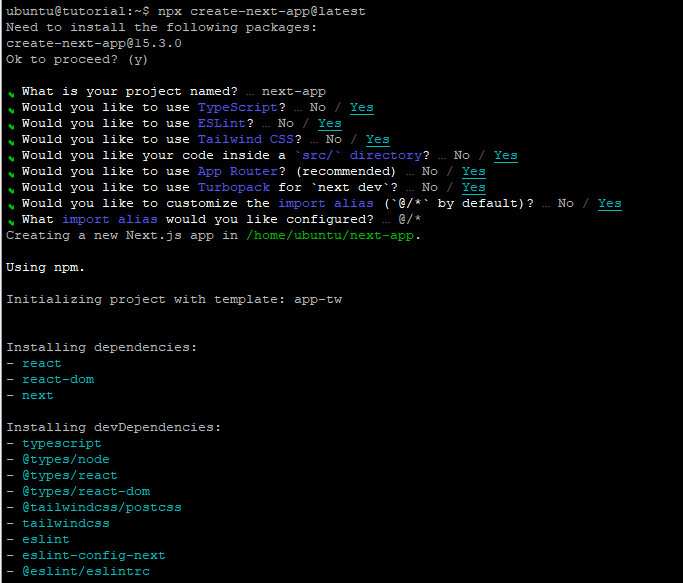
To get started, let's begin by creating a new Next.js project using the latest version of create-next-app. We'll use the npx command to run create-next-app@latest, which will scaffold a brand new Next.js project for us. This will ensure that we have the latest features and best practices built into our application from the get-go. By running
npx create-next-app@latestwe'll create a new directory called next-app containing all the necessary files and configurations to get started with building our Next.js application.
Now that we've created a new Next.js project, let's open it up in VSCode and get started with setting up our development environment.
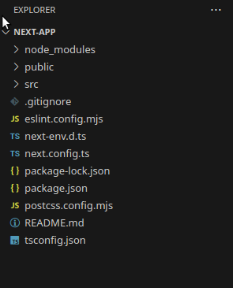
Once you've opened the project folder in VSCode, you can verify that everything is set up correctly by checking the following:
- The project structure is correct, with a
srcdirectory and apublicdirectory. - The
next.config.jsfile is present and configured for development mode. - The
package.jsonfile has all the necessary dependencies installed.
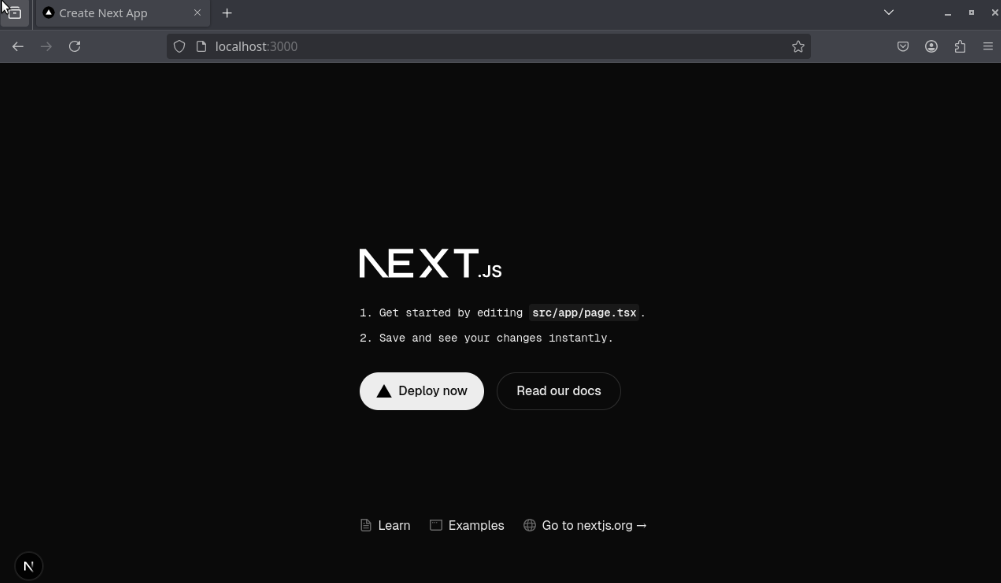
To start our development environment, we can run the following command in the terminal:
npm run devWith the development server running, let's open up a web browser and navigate to http://localhost:3000 to see our newly launched Next.js application.
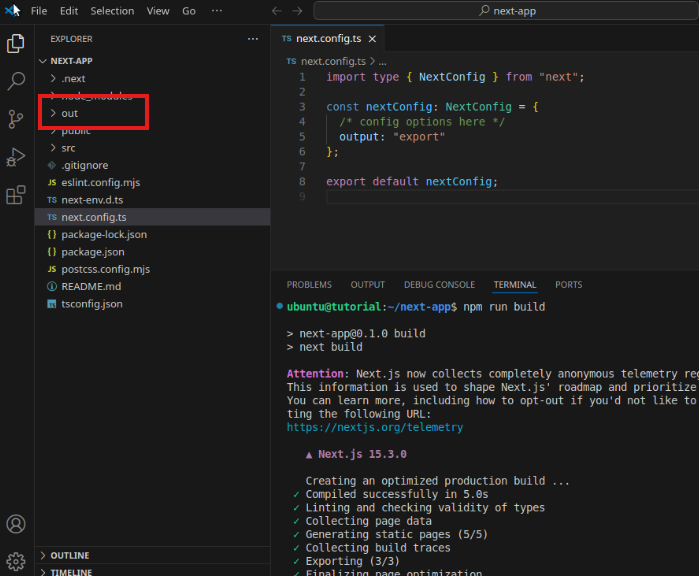
To enable a static export in Next.js, we'll make some changes to the next.config.js file.
import type { NextConfig } from "next";

const nextConfig: NextConfig = {
  output: "export",
};

export default nextConfig;
After running npm run build, Next.js will create an out folder with the HTML/CSS/JS assets for your application.
The contents of this out folder are exactly what we need to configure Nginx as a webserver. We can use these files as the static assets for our application, and Nginx will serve them directly to clients.
To configure Nginx as the webserver, we'll need to map the URLs that our application expects to the corresponding files in the out folder. This is typically done using a configuration file like /etc/nginx/conf.d/default.conf.
Here's an example of what the Nginx configuration might look like, save it as nginx.conf in project folder:
server {
    listen 3000;

    location / {
        root /usr/share/nginx/html/;
        include /etc/nginx/mime.types;
        try_files $uri $uri/ /index.html;
    }
}
To complete our Next.js application deployment using Docker, we need to create a Dockerfile that builds our application image from scratch.
Here's an example of what the Dockerfile might look like:
# using staged builds
FROM node:22-alpine AS builder
# make the directory where the project files will be stored
RUN mkdir -p /usr/src/next-app
# set it as the working directory so that we don't need to keep referencing it
WORKDIR /usr/src/next-app
# Copy the package.json file
COPY package.json package.json
# install project dependencies
RUN npm install
# copy project files
# make sure to set up .dockerignore to copy only necessary files
COPY . .
# run the build command which will build and export html files
RUN npm run build

# bundle static assets with nginx
FROM nginx:1.21.0-alpine AS production
ENV NODE_ENV=production
# remove existing files from nginx directory
RUN rm -rf /usr/share/nginx/html/*
# copy built assets from 'builder' stage
COPY --from=builder /usr/src/next-app/out /usr/share/nginx/html
# copy nginx config
COPY nginx.conf /etc/nginx/conf.d/default.conf
# expose port 3000
EXPOSE 3000
# start nginx
CMD ["nginx", "-g", "daemon off;"]
FROM node:22-alpine AS builder- We're using the official Node.js 22 runtime as our base image and reference this build stage asbuilder.WORKDIR /usr/src/next-app- We set the working directory in the container to/usr/src/next-app.COPY package.json package.json- We copy thepackage.jsonfile into the container.RUN npm install- We runnpm installto install our dependencies.COPY . .- We copy the rest of our application code into the container.RUN npm run build- We build our Next.js application usingnpm run build.FROM nginx:1.21.0-alpine AS production- We're usingnginx:1.21.0-alpineas base imageENV NODE_ENV=production- We set the NODE_ENV to productionRUN rm -rf /usr/share/nginx/html/*- We're removing static page that come with nginx base imageCOPY --from=builder /usr/src/next-app/out /usr/share/nginx/html- We're copyingoutfolder frombuilderstage and place it in default nginx static folderCOPY nginx.conf /etc/nginx/conf.d/default.conf- We're copying nginx configuration fileEXPOSE 3000- We expose port 3000 from the container, so that we can access our application at this port.CMD ["nginx", "-g", "daemon off;"]- We run the command to start the nginx when the container starts.
Once we've created our Dockerfile, we'll need to build the Docker image using the following command:
docker build -t next-app:latest .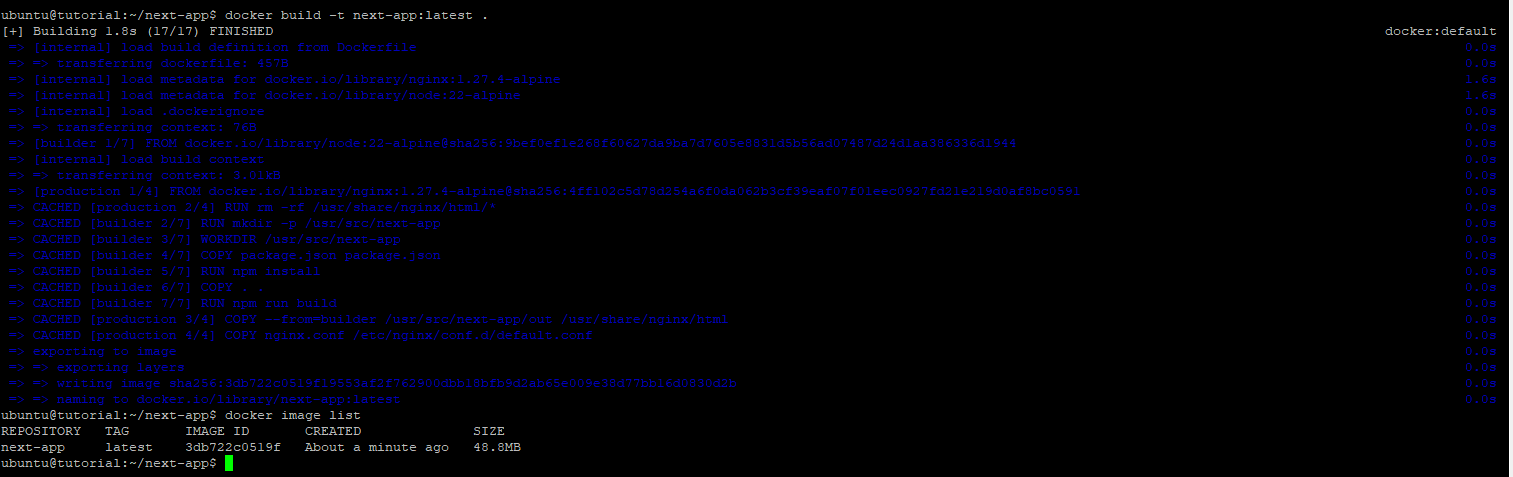
This will create a new Docker image with the name next-app. Finally, we can run the Docker container using the following command:
docker run -p 3000:3000 next-appThis will start a new container from our my-next-app image and map port 3000 on the host machine to port 3000 in the container. We can then access our Next.js application at http://localhost:3000.
https://nextjs.org/docs/pages/building-your-application/deploying/static-exports
https://thoughtrealm.medium.com/deploying-a-next-js-app-with-nginx-using-docker-ca6a5bbb902e